E-Documents allow the patient to fill out a form while in the virtual waiting room, and electronically sign it. Users with an Account Administrator or Clinical Supervisor role can create/edit as many templates as needed, and delete templates as well. Common uses for these E-Documents include Statements of Understanding and intake forms. For a good overview of this feature, please see the video recording of a webinar we hosted on e-documents.
As the session host, you will be notified by e-mail that you have received a document (the name of the document will be included in the email but not the name of the person that signed it), and can log in to access it. This support article illustrates how to access an E-Document that has been submitted to you.
You may also be interested in:
Access documents submitted to you
For a current meeting
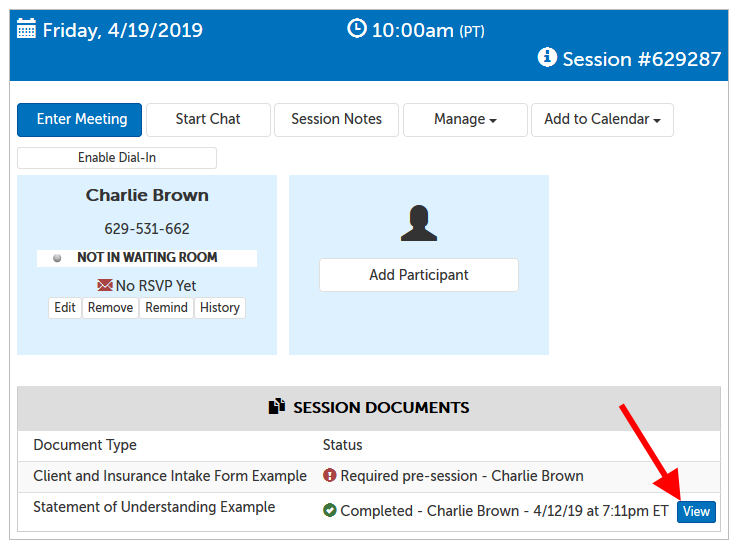
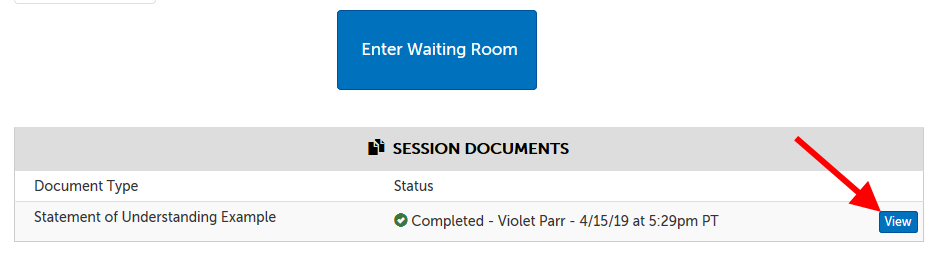
1. Navigate to the user scheduling dashboard, and underneath the meeting panel is a "Session Documents" section. Any completed documents will appear with a "View" button to the right.
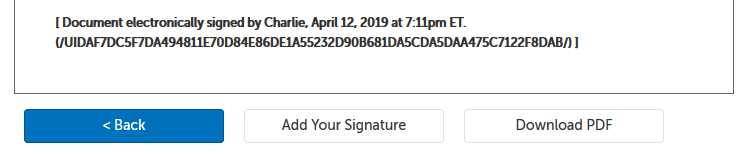
2. Scroll to the bottom of the next page.
- < Back: this will navigate back to the page you came from.
- Add Your Signature: this will add an electronic signature displaying your username on the e-document.
- Download PDF: this will download a PDF copy of the document. For information on exporting e-documents in bulk, please see the support article, Exporting data from your account .
Documents submitted for all meetings
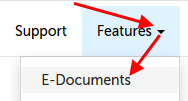
1. Click on the "Features" tab and select "E-Documents" from the drop-down menu.
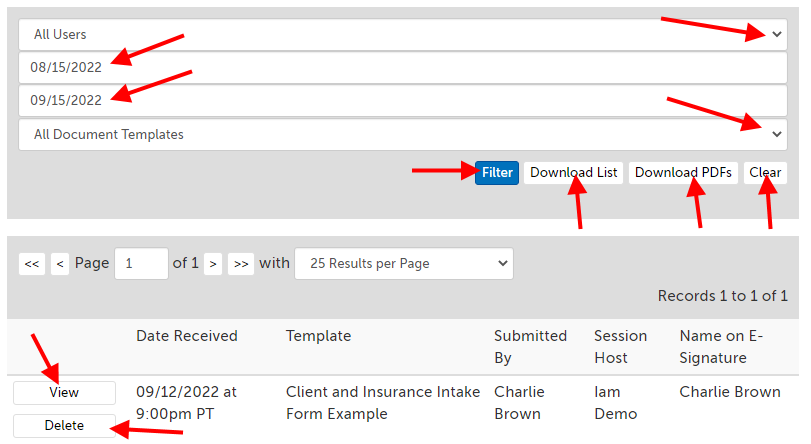
2. This page will allow you to sort any e-documents you have access to.
- If you are an Account Administrator or Clinical Supervisor, this page will default to "All Users".
- If you are a Scheduler, the default selected user will be the first host that you have access to, in alphabetical order. (On an organization account with no restrictions, Schedulers can view the e-documents for all hosts.)
- If you are a Host with no other roles, you will only be able to view e-documents submitted to you.
Set a "From Date" and "To Date", and click "Filter" to run the search. (The default parameter searches on the last month.)
- Leave "From Date" and "To Date" blank to search for sessions from all time.
- Leave "From Date" blank to search any time before "To Date".
- Leave "To Date" blank to search any time after "From Date".
- "All Document Templates" will return any submitted e-document.
- Change this filter to a specific template if you would like to export the field data as an Excel spreadsheet. This is recommended if you will be importing the e-document answers into a different system, or otherwise need separate answers by field.
- Use the "Download List" button to export metadata results as an Excel spreadsheet list.
- Use the "Download PDFs" button to export results as a zip file containing the full PDFs of each document.
- Please note that PDFs that are exported this way will not have the Branding logo at the top of each PDF.
- Batch downloads is limited to 5,000 PDFs at a time.
- An Excel spreadsheet will be part of the zip file with meta data. If a specific template was selected, this spreadsheet will also contain field data, and the field name will be used as the column name.
Use the "Clear" button to clear the entered date range and return User Selection field to the default.
Use the "View" button next to any search result to view that E-document.
Use the "Delete" button next to any search result to delete that E-document on the organization account. This deletion is PERMANENT.
- NOTE: If there is only 1 host-enabled user on the organization account, the "Session Host" column will not be shown.
Add a signature to a completed e-document
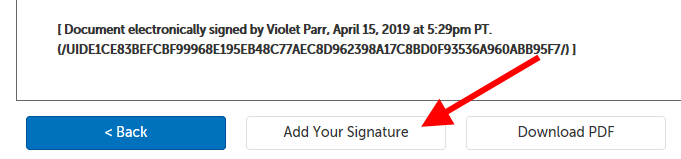
1. If you View an e-document, at the bottom will be 3 buttons:
- < Back: this will navigate back to the page you came from.
- Add Your Signature: this will add an electronic signature displaying your username, time stamp, and security hash on the document. (If the document template requires a mouse or hand-drawn signature, you will be asked to make this signature as well.)
- Download PDF: this will download a PDF copy of the document.
Access documents submitted to another participant in the same video session and add signature
NOTE: In order to allow non-hosts to see the completed the document, the "Who Can See Completed Documents?" setting for this e-document template will need to be set to "All Session Participants".
1. If you have access to view documents assigned to other participants in the session, you will see those documents and their statuses from your own waiting room page or dashboard. Click "View".
- If there is no "View" button, that participant has not completed the document yet.
2. Review the document, and then scroll to the bottom of the page and click "Add Your Signature" when ready.
- You can also click on "Download PDF" to download a PDF copy of the submitted document, before or after you add your signature.
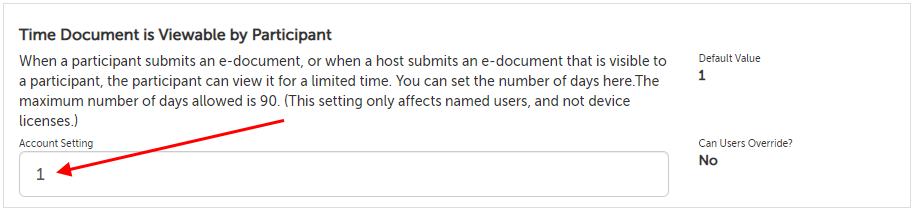
Setting: Time Document is Viewable by Participant
This setting determines how long a participant can view submitted documents (either documents they have submitted or ones a host has submitted that are visible to all participants) for a given session. The default is 1 day.
- Hosts can view documents submitted to them any time using the steps described in the first section of this page, as long as the document hasn't been deleted from the account.
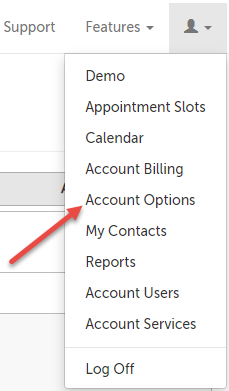
1. Click on the profile icon and select Account Options.
- This setting will affect all users in the organization account. You must have the role of Account Administrator to change this setting.
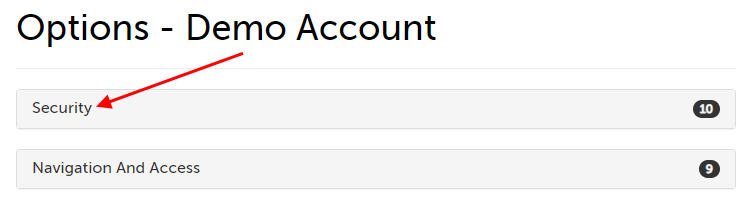
2. Click to expand the "Security" section.
3. Scroll to the option "Time Document is Viewable by Participant". The default time is "1" for 1 day. You can change the number of days (up to 90 days). The setting will save automatically.
This article was last reviewed by our Support team on January 17, 2023.